
n8n & HubSpot: Fetch All Contacts with a Manual Trigger
Let’s walk through a simple n8n workflow that pulls every contact from HubSpot with a single click, using a Manual Trigger and the HubSpot node.
What this n8n + HubSpot workflow actually does
At its core, this workflow is a tiny but powerful helper. You click a button, it talks to HubSpot, and it hands you all your contacts in one go.
Here is what happens behind the scenes:
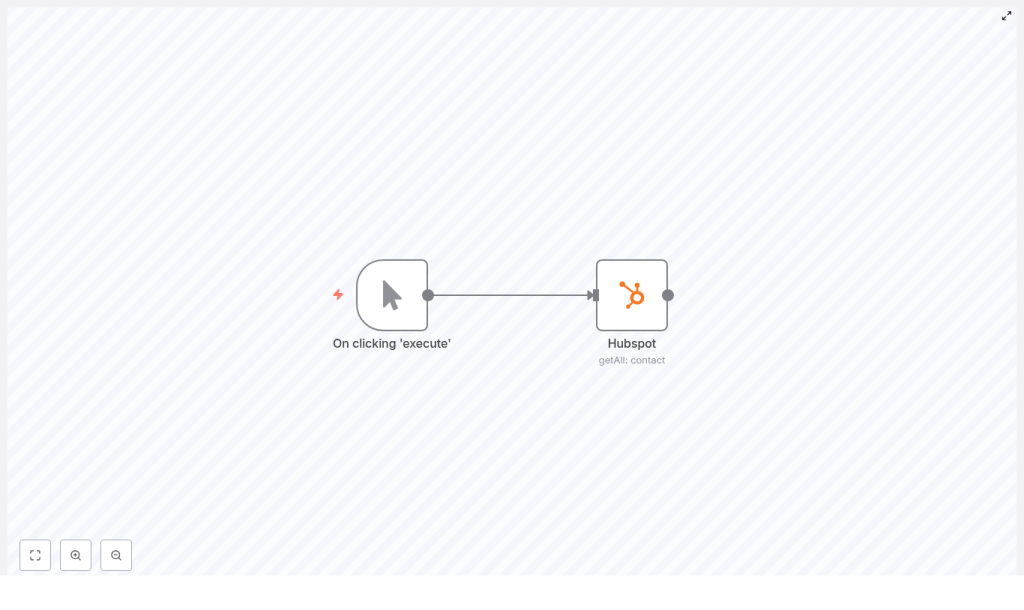
- A Manual Trigger node starts the workflow whenever you feel like running it.
- A HubSpot node is set to the
contactresource with thegetAlloperation, which retrieves every contact from your HubSpot account.
From there, you can do whatever you like with the data: export it, transform it, push it to a data warehouse, or feed it into another system.
Why bother automating HubSpot contact exports?
If you have ever downloaded CSVs from HubSpot over and over, you already know why this matters. Automation saves you from repetitive clicks and messy copy-pasting.
This workflow is especially handy if you:
- Need to consolidate leads across different tools or teams
- Send CRM data to a data warehouse for analytics
- Prepare one-off or recurring exports for reporting or audits
n8n gives you a flexible, self-hosted automation platform with a native HubSpot node, so connecting to your CRM is straightforward and stays under your control.
When to use this template
You’ll get the most value from this workflow template when you:
- Want a quick, on-demand export of all HubSpot contacts
- Are setting up a new integration and need to inspect the raw contact data structure
- Plan to build a more advanced pipeline but want to start with a simple, reliable base
- Need a repeatable way to sync contacts into spreadsheets, BI tools, or internal databases
Think of it as your starting point. You can always swap the Manual Trigger for a Cron node, add transformations, or connect it to other services once you are happy with the basic flow.
What you need before you start
Before building the workflow, make sure you have:
- An n8n instance (cloud or self-hosted)
- HubSpot credentials with the right permissions (API key or OAuth app)
- Basic familiarity with how n8n nodes work and how to connect credentials
Step-by-step: Build the workflow in n8n
Let’s put the workflow together from scratch. It only takes a few minutes.
1. Create and save a new workflow
Open your n8n instance and create a new workflow. Give it a name you will recognize later, then hit save. Saving early avoids losing changes if your browser or session misbehaves.
2. Add the Manual Trigger node
Search for the Manual Trigger node and drop it on the canvas. This node lets you run the workflow on demand by clicking Execute.
Later on, if you want this to run automatically on a schedule, you can replace the Manual Trigger with a Cron node or another trigger.
3. Add and connect the HubSpot node
Next, add a HubSpot node to the canvas. Connect the output of the Manual Trigger node to the input of the HubSpot node so the data flows in the right direction.
4. Configure HubSpot credentials
Click on the HubSpot node and choose existing credentials or create new ones. n8n supports both API keys and OAuth, but:
- OAuth is recommended for production, since it follows security best practices and handles token refresh automatically.
Make sure the connected account has permission to read contacts.
5. Set the resource and operation
In the HubSpot node settings, configure it like this:
- Resource:
contact - Operation:
getAll - Return All:
true
Setting Return All to true tells n8n to automatically follow HubSpot’s pagination and give you every contact, not just the first page.
6. (Optional) Choose which contact properties to fetch
You do not always need every field. To limit what comes back:
- Open Additional Fields
- Use the Properties option to list the fields you care about, for example:
email,firstname,company,lifecyclestage, and so on.
Pulling only the properties you need keeps the payload smaller, speeds things up, and makes downstream processing easier.
7. Run the workflow and inspect the output
Click Execute Workflow. The Manual Trigger will fire, the HubSpot node will call the API, and you should see an array of contacts in the HubSpot node output.
Open the node output panel to:
- Check the data structure
- Verify that the expected fields are present
- Confirm that all contacts are being returned
Once this looks right, you can confidently plug the node into other parts of your automation.
Handling pagination and large HubSpot contact lists
When you set Return All to true, the HubSpot node will handle pagination for you and merge the results. That is perfect for small and medium lists, but what if you have tens of thousands of contacts?
For very large datasets, keep these tips in mind:
- Limit properties to only what you need, to reduce payload size.
- Process in batches using the SplitInBatches node if you are writing to external systems, which helps avoid timeouts and sudden bursts that hit rate limits.
- Add error handling and retries using the Error Trigger node or the built-in retry settings on individual nodes.
This way, your workflow stays stable even when your contact list grows.
Example n8n workflow JSON
If you prefer to start from a ready-made template, here is a minimal JSON representation of the workflow:
{  "nodes": [  {  "name": "On clicking 'execute'",  "type": "n8n-nodes-base.manualTrigger"  },  {  "name": "Hubspot",  "type": "n8n-nodes-base.hubspot",  "parameters": {  "resource": "contact",  "operation": "getAll",  "returnAll": true  }  }  ]
}
You can paste or import this JSON into n8n, then open the HubSpot node and configure your credentials before running it.
Popular ways to extend this template
Once you can reliably pull all HubSpot contacts into n8n, the fun part begins. Here are some common enhancements you can build on top of this workflow.
1. Export contacts to Google Sheets or CSV
Want a simple spreadsheet export?
- Add a Set node after the HubSpot node to clean up or rename fields.
- Then connect a Google Sheets node to append rows to a sheet, or use the Write Binary File node to create a CSV file.
2. Sync only new or updated contacts
If you do not want to pull everything every time, you can:
- Use the HubSpot node with a filter, for example
createdAt > lastRun. - Store the last run timestamp in a database or a variable so the next run only fetches new or updated contacts.
This is ideal for incremental syncs into other systems.
3. Load contacts into a data warehouse
For analytics or BI use cases, you can:
- Map HubSpot fields to your warehouse schema using Set or Function nodes.
- Push the transformed data to BigQuery, Snowflake, or another data store using the relevant integration nodes or the HTTP Request node.
Use cases this workflow is perfect for
Here are a few practical scenarios where this n8n and HubSpot contact export template shines:
- Daily or weekly contact exports to reporting systems
- One-time migrations when moving away from HubSpot or into a new CRM
- Real-time or near real-time syncs when combined with webhooks or scheduled runs
- Cleaning and enrichment flows where you append data from enrichment APIs
Troubleshooting common issues
Running into problems? Here are a few quick checks.
Authentication problems
If the HubSpot node fails with authentication errors:
- Double-check your HubSpot credentials in n8n.
- Make sure the correct scopes are granted.
- If using OAuth, confirm that the refresh token is valid and that n8n can reach HubSpot from your network.
Empty or missing results
If you are getting no contacts back:
- Verify that your HubSpot account actually has contacts.
- Check that you did not apply overly strict property filters.
- Try fetching a single contact directly from the HubSpot UI or API to confirm everything is connected correctly.
Rate limits and timeouts
Seeing 429 errors or timeouts?
- HubSpot enforces API rate limits, so consider slowing down requests.
- Implement exponential backoff or retries in your workflow.
- Use batching (for example with SplitInBatches) to smooth out traffic to external systems.
Security tips and best practices
Since you are working with CRM data, it is worth tightening security from the start:
- Prefer OAuth over API keys for production connections.
- Only fetch the properties you actually need.
- Secure your n8n instance with HTTPS, a firewall, and role-based access where possible.
- Store credentials using n8n’s credential manager and avoid hardcoding tokens in nodes.
Final tips before you go live
A good way to approach this workflow is to start small and iterate:
- Begin by fetching just a few key properties and confirm that everything looks right.
- Once it is stable, expand to more fields and add your downstream systems.
- Set up observability, for example logging nodes, notifications for failures, and a plan for rotating credentials.
That way, your simple manual export can grow into a reliable, production-grade automation.
