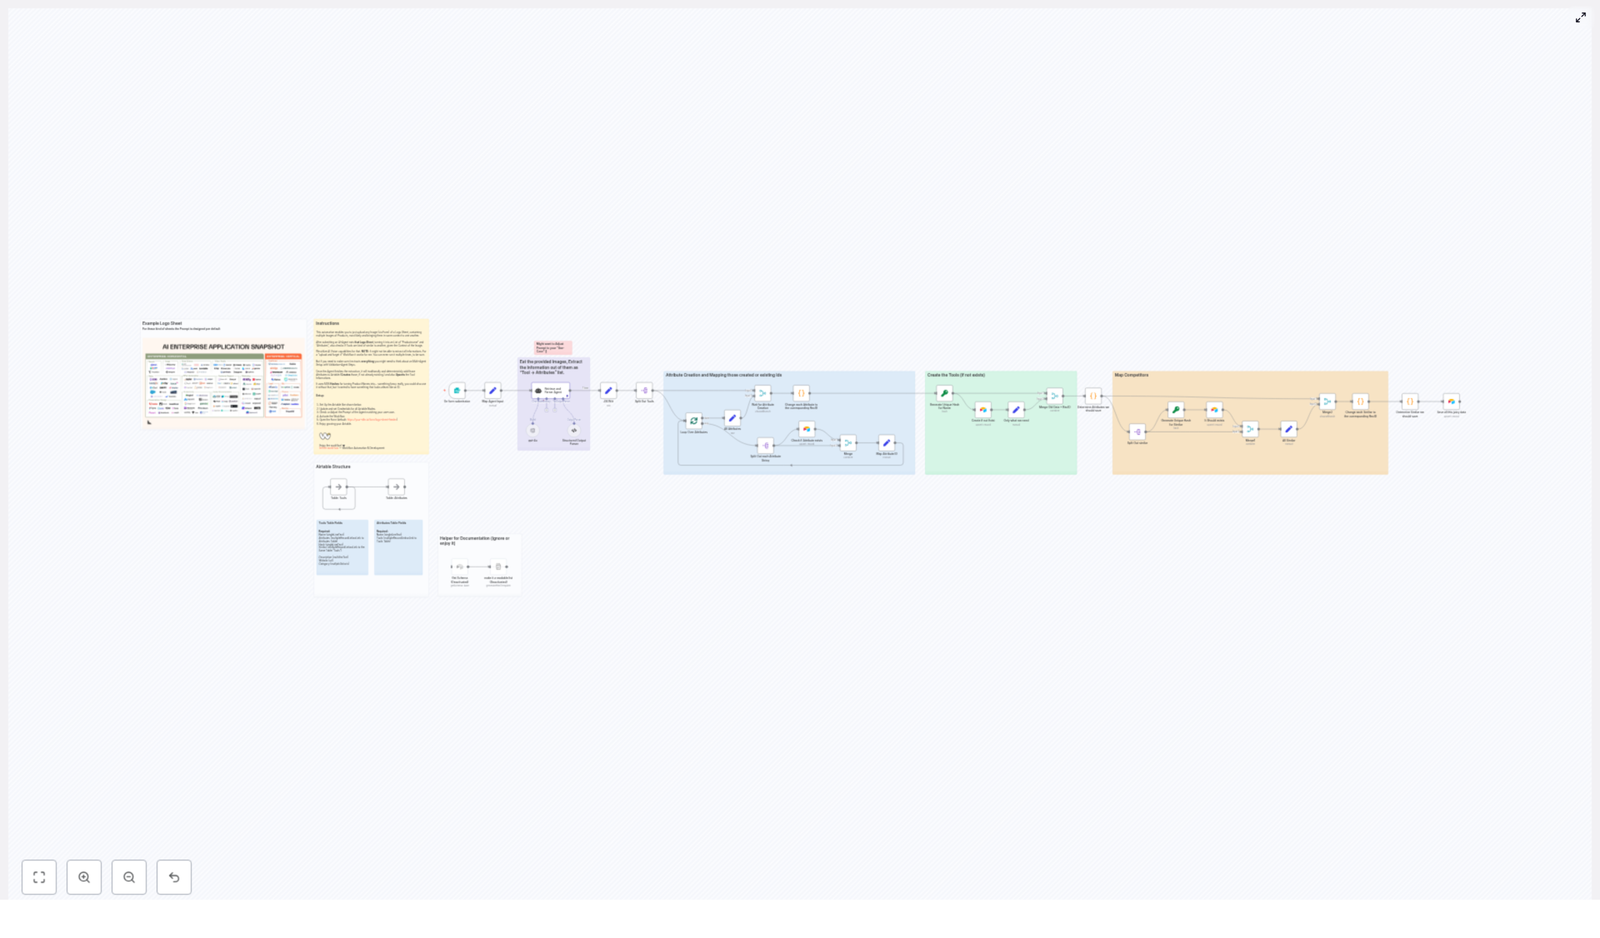
Automating an AI Newsletter Pipeline with n8n
The modern newsletter needs to be fast, consistent, and operationally reliable. For most teams, that now means automating how content is collected, curated, and drafted. This reference-style guide describes a production-ready n8n workflow template for an AI-driven newsletter pipeline that integrates LLMs, S3-compatible storage, and Slack-based approvals. It is written for technical users who want a clear architecture, node responsibilities, and configuration patterns to support a repeatable weekly or daily newsletter.
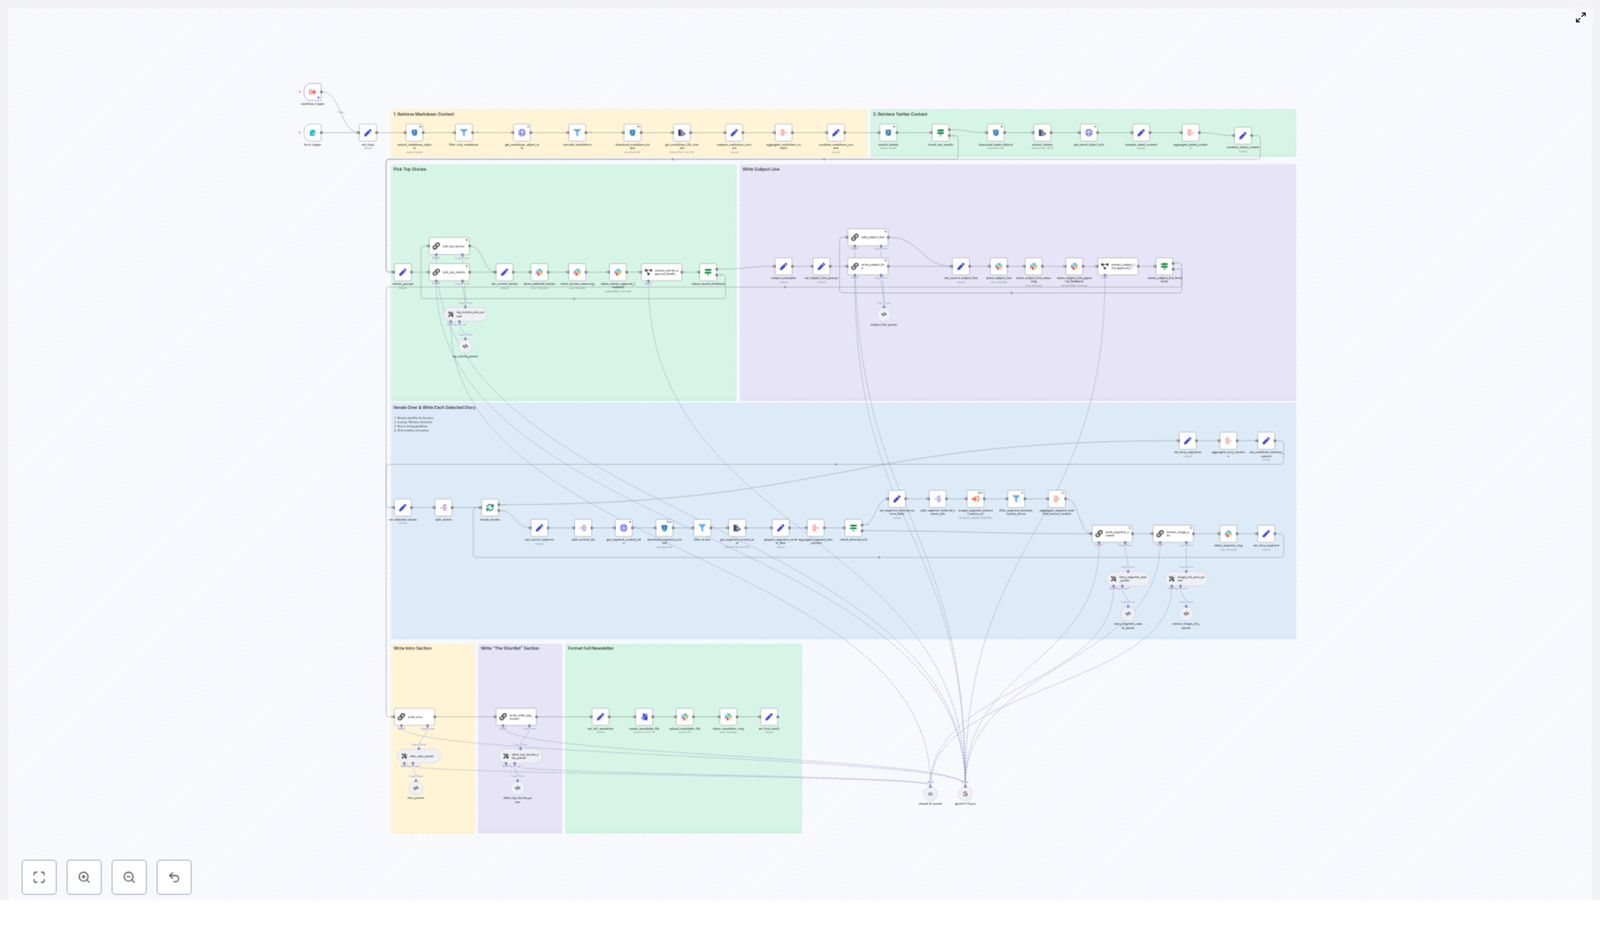
1. Workflow overview
This n8n newsletter automation template implements a full content pipeline, from ingestion through approval and storage. At a high level, the workflow:
- Ingests raw source material such as markdown files and tweet/X JSON exports
- Normalizes and filters inputs before any LLM calls
- Uses LLM nodes (LangChain-style orchestration) for story selection and section drafting
- Generates email-ready subject lines and pre-header text
- Assembles a complete newsletter document in markdown format
- Publishes previews to Slack for human approval and collaboration
- Stores the final approved newsletter in S3-style storage and optionally in Slack or a CMS
The template is modular, so you can change LLM providers, add new input sources, or adjust approval logic without restructuring the entire system.
2. Architecture and data flow
The workflow can be understood as a series of logical stages, each implemented with one or more n8n nodes:
- Input acquisition
- Searches an S3-compatible bucket for markdown content
- Loads tweet/X JSON objects and optional additional sources
- Preprocessing and filtering
- Filters by file type and date prefix
- Extracts plain text from markdown and tweet JSON
- Removes previous newsletter editions from the candidate set
- Story selection (LLM)
- Aggregates normalized content into a single payload
- Invokes an LLM node with a structured-output prompt
- Returns a JSON object containing reasoning and a curated story list
- Segment generation (LLM)
- Iterates over selected stories
- Loads all associated identifiers and source content
- Optionally retrieves external URLs for deeper context
- Generates structured newsletter sections: “The Recap”, “Unpacked” bullets, and “Bottom line”
- Subject line and pre-header generation (LLM)
- Creates multiple subject line candidates
- Generates pre-header text variants within strict length limits
- Assembly and Slack approval
- Combines segments into a full markdown newsletter
- Posts the draft to Slack with interactive approval options
- Captures editor feedback and applies requested edits via LLM
- Finalization and storage
- Converts the final version to a markdown file
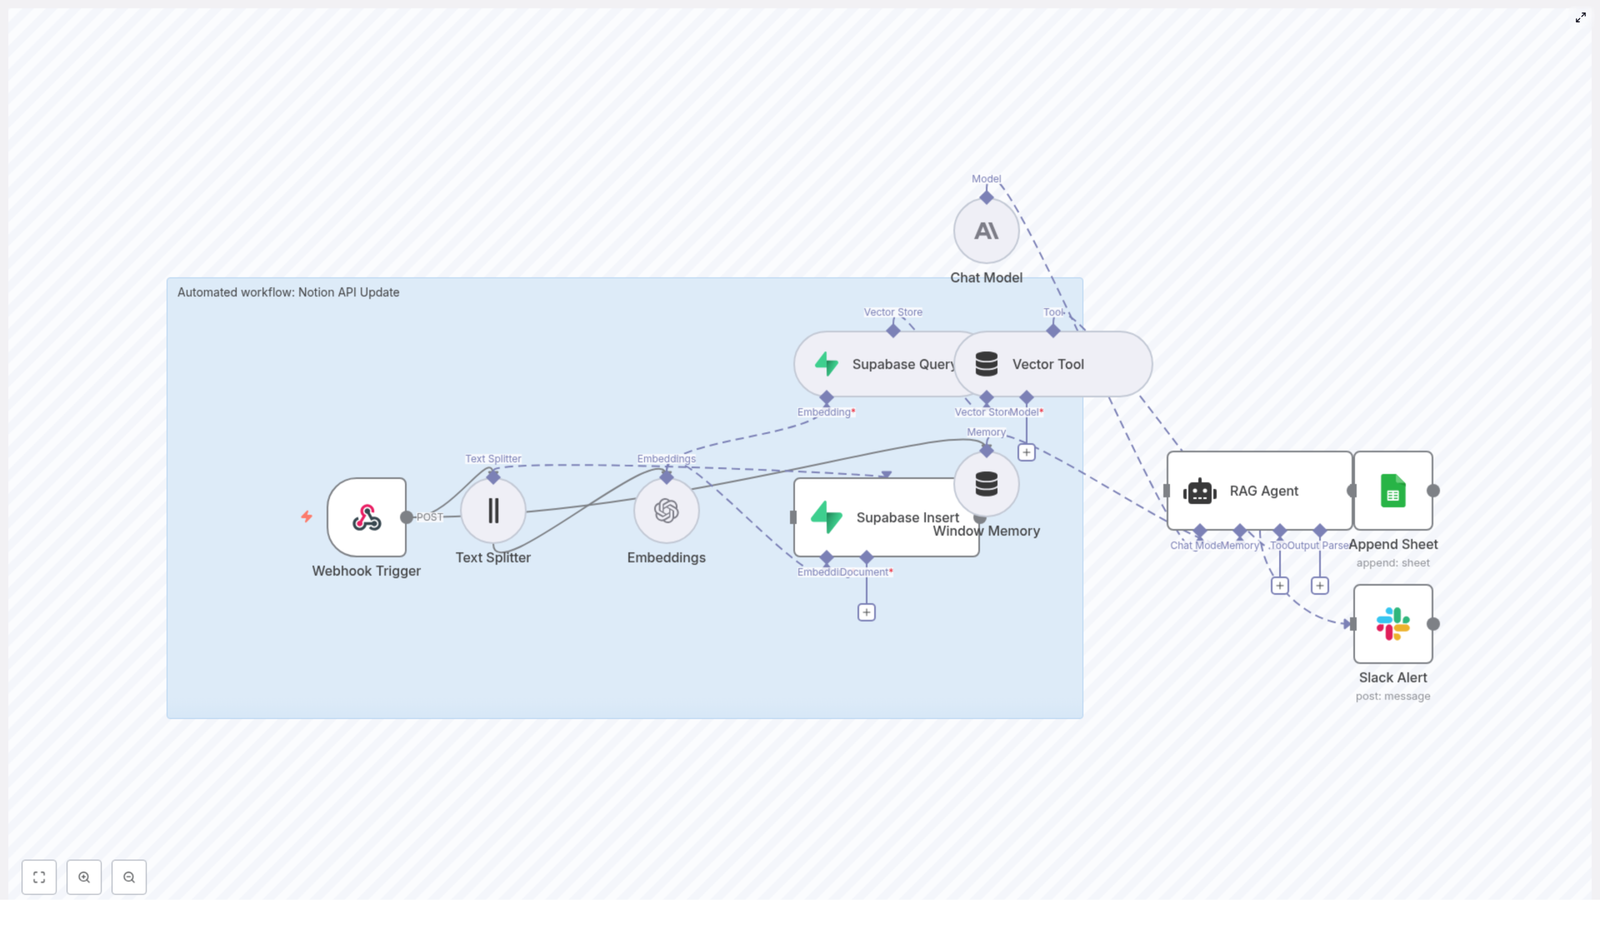
- Uploads to S3 and Slack or a CMS
- Provides a permalink in Slack for downstream distribution
Each stage is encapsulated in specific nodes or sub-flows, which makes it easier to test, monitor, and extend the pipeline.
3. Node-by-node breakdown
3.1 Input sources
The workflow is designed to ingest multiple content types so that it can grow with your editorial strategy.
- Markdown content in S3-compatible storage
- Typical usage: long-form articles, blog posts, product or feature announcements, and internal or external writeups.
- Implementation: an S3-compatible node searches for objects whose keys match a configurable date prefix. This keeps each run scoped to the current edition window.
- Tweet/X JSON captures
- Typical usage: social-first breaking news, short commentary, or timely reactions.
- Implementation: JSON ingestion nodes load tweet exports, which are then transformed into readable text segments.
- Optional sources
- RSS feeds
- Web-scraped pages
- Curated Google Drive documents
These are not required by the template but can be added as additional input nodes that feed into the same preprocessing pipeline.
3.2 Preprocessing and filtering
Before any LLM call, the workflow standardizes and filters data to reduce noise and cost.
- Date-scoped search
- The S3 search node uses a date prefix (for example,
2025-11-29-*) to only retrieve files relevant to the current edition.
- The S3 search node uses a date prefix (for example,
- File type filtering
- A filter node enforces strict inclusion rules, typically allowing only
.mdobjects for content ingestion. - Previous newsletter files are excluded explicitly to avoid re-summarizing past editions.
- A filter node enforces strict inclusion rules, typically allowing only
- Text extraction
- Markdown files are converted to raw text while preserving identifiers and URLs as metadata.
- Tweet JSON records are parsed into readable content blocks, for example, tweet text plus author and timestamp.
At the end of this stage, each content item is represented as a normalized object that includes:
- Plain text body
- Source type (markdown, tweet, etc.)
- Unique identifier
- Associated URLs or external references
3.3 Story selection with LLM assistance
The next stage uses an LLM node to help identify the most relevant stories from the normalized content set.
- Input payload
- All candidate content items are aggregated into a single payload to keep context together and minimize token usage.
- LLM node configuration
- Uses a chain-of-thought prompting style to encourage explicit reasoning.
- Employs a fixed JSON schema as the response format so downstream nodes can parse the output deterministically.
- Structured output schema
The LLM returns a JSON object that typically includes:
- A chain-of-thought explanation describing how items were evaluated and why certain stories were selected or excluded.
- A numbered list of selected stories, each containing:
- Title
- Short summary
- Identifiers that map back to the source content
- External links where applicable
This separation of reasoning and selection output improves transparency and allows the reasoning portion to be sent directly to Slack for editorial review without affecting the structured data used in subsequent nodes.
3.4 Deep-dive segment generation
Once the top stories are selected, the workflow generates fully structured newsletter segments for each story.
- Source aggregation per story
- For each selected story, the workflow resolves all associated identifiers to their underlying content.
- Related markdown text, tweet threads, and any linked external resources can be combined into a single context block.
- If configured, a web-scraping step can fetch external URLs to add more depth.
- LLM segment generation
- An LLM node receives the aggregated content and a prescriptive prompt that specifies:
- Exact section structure
- Formatting rules
- Maximum number of links
- The output is a tightly structured newsletter section with:
- The Recap – a concise overview of the story
- Unpacked – a bullet list explaining context, implications, and key details
- Bottom line – a two-sentence conclusion summarizing why the story matters
- An LLM node receives the aggregated content and a prescriptive prompt that specifies:
By keeping prompts explicit about format, bullet usage, and link rules, the resulting content is consistent and email-ready, which reduces manual editing effort.
3.5 Subject line and pre-header generation
Subject lines and pre-headers are produced via a dedicated LLM node configured for short-form copywriting.
- Constraints and variants
- Subject lines are constrained to a specific word range, typically 7 to 9 words.
- Pre-header text is limited to roughly 15 to 20 words.
- The node generates multiple candidate options for both subject and pre-header.
- Reasoning output
- The prompt can request a short explanation of why each variant might perform well.
- These explanations and alternatives are forwarded to Slack so editors can pick the most appropriate option.
3.6 Slack-based approval and collaboration
The workflow then exposes the draft newsletter to human reviewers using Slack.
- Draft publication
- The combined newsletter markdown, along with candidate subject lines and pre-headers, is posted to a designated Slack channel.
- The Slack message includes interactive elements such as “Approve” and “Request changes” buttons.
- Feedback interpretation
- Reviewer responses are captured as Slack events.
- A small information-extraction LLM node interprets the feedback to determine whether:
- The newsletter is approved as-is.
- Specific edits or changes are requested.
- Applying edits
- If changes are requested, an “editor” LLM node receives:
- The current newsletter markdown
- The reviewer’s instructions
- The prompt is constrained so the editor node applies only the requested transformations and preserves:
- Identifiers
- Source references
- Existing URLs
- If changes are requested, an “editor” LLM node receives:
This human-in-the-loop step ensures that editorial judgment is preserved while still benefiting from automation.
3.7 Finalization and storage
Once approved, the workflow finalizes the newsletter and stores it for distribution and archival.
- Markdown conversion
- The finalized newsletter is formatted as a markdown file, suitable for email providers or CMS ingestion.
- Storage targets
- The file is uploaded to:
- An S3-compatible bucket for archival and reproducibility.
- Slack or a publishing CMS, depending on your integration preferences.
- The file is uploaded to:
- Permalink sharing
- A permalink or object URL is posted back to Slack so stakeholders can access the final version and use it for downstream distribution workflows.
4. n8n configuration notes and best practices
4.1 Node configuration tips
- Search scope
- Use date-prefixed search patterns in S3 or similar storage nodes to limit ingestion to the specific newsletter edition.
- File filters
- Keep filters strict, for example, accept only
.mdfiles for long-form content. - Explicitly exclude known patterns for previous newsletters to avoid duplicates.
- Keep filters strict, for example, accept only
- Payload aggregation
- Where possible, aggregate related content into a single item before invoking LLM nodes. This:
- Reduces token usage
- Improves coherence of the generated text
- Where possible, aggregate related content into a single item before invoking LLM nodes. This:
- Metadata preservation
- Attach metadata to each content block, such as:
- Unique identifiers
- Source names
- External URLs
- This allows you to trace every claim in the newsletter back to its origin.
- Attach metadata to each content block, such as:
- Safety filters
- Insert validation or filter nodes after LLM calls to:
- Screen for forbidden language
- Ensure compliance with editorial standards
- Insert validation or filter nodes after LLM calls to:
4.2 Prompt design and LLM orchestration
Reliable automation depends heavily on how prompts and outputs are structured.
- Fixed JSON schemas
- Require LLM nodes to return fixed JSON structures for:
- Story selection
- Segment generation
- Feedback interpretation
- This enables robust parsing in downstream n8n nodes and avoids ad hoc string parsing.
- Require LLM nodes to return fixed JSON structures for:
- Formatting rules
- Prompts should explicitly define:
- Section headings
- Bullet styles
- Allowed bolding or emphasis rules
- Clear formatting instructions reduce the risk of malformed markdown.
- Prompts should explicitly define:
- Reasoning and auditability
- For chain-of-thought or reasoning nodes, instruct the model to:
- Enumerate which sources were used
- Explain why certain items were included or excluded
- This improves auditability and provides context for editorial teams reviewing Slack messages.
- For chain-of-thought or reasoning nodes, instruct the model to:
- Link handling
- Limit link density, for example, at most one link per paragraph or bullet.
- Require URLs to be copied verbatim from the provided metadata, not invented by the model.
5. Quality control and monitoring
Even with strong prompts, you should maintain automated checks and human oversight.
- Markdown validation
- Use simple validation rules to detect:
- Overly long headlines
- Malformed links
- Missing identifiers or required sections
- Use simple validation rules to detect:
- Approval gate
- Keep the Slack approval step as a mandatory gate.
- Avoid automatically pushing content