
Ever Copy-Pasted Calendly Invites Into Notion for the 47th Time?
If you have ever found yourself dragging Calendly details into Notion like a human copy-paste machine, this one is for you. Repetitive admin work is the villain of productivity, and yet it somehow keeps showing up on your calendar.
Enter n8n, your friendly automation sidekick. With a simple workflow, you can connect Calendly to Notion so that every new invitee magically appears in your Notion database as a shiny new page. No more manual entry, no more “I’ll update the CRM later” lies.
What This n8n Workflow Actually Does
This workflow is all about turning scheduled meetings into structured data in Notion without you lifting a finger.
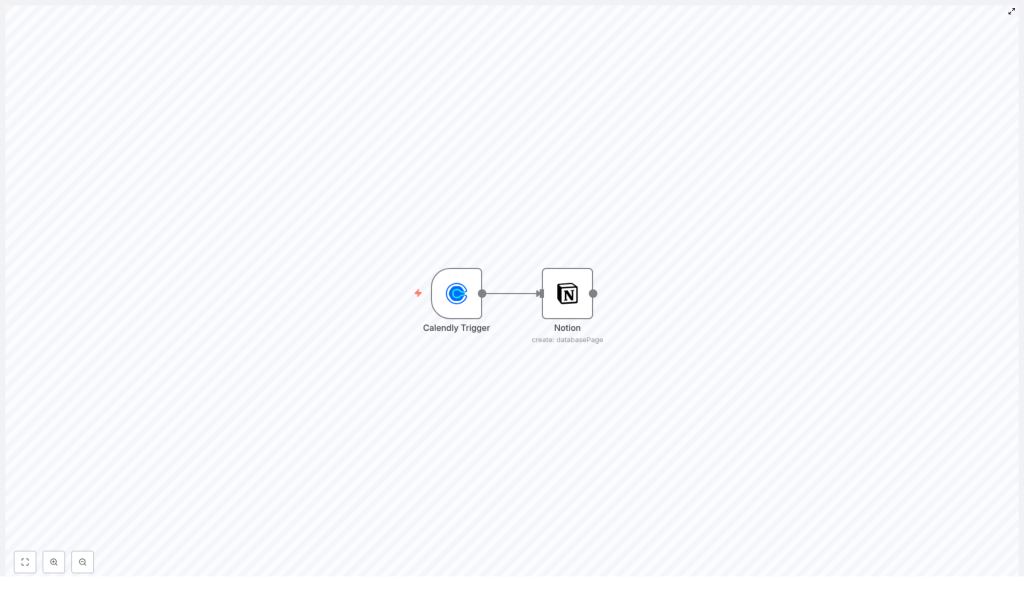
Here is the basic flow:
- Calendly Trigger node listens for new invitees.
- When someone books a meeting, Calendly sends their details to n8n.
- Notion node takes that info and creates a new page in your chosen Notion database.
The result is a smooth pipeline from scheduling to documentation, so your Notion workspace becomes a simple CRM or meeting hub that stays up to date automatically.
Key Pieces of the Workflow
1. Calendly Trigger Node
Think of this as the watchful gatekeeper that jumps into action whenever a new person books time with you.
- Purpose: Listen for new scheduling events from Calendly.
- Event configuration:
events:["invitee.created"]– this fires whenever a new invitee is created.
- Authentication:
- Uses your
Calendly API credentialsso n8n can securely talk to your Calendly account.
- Uses your
2. Notion Node
Once Calendly shouts “New invitee!”, the Notion node politely creates a new page for that person in your database.
- Purpose: Create a new page in a Notion database with the invitee’s details.
- Main configuration:
resource:databasePage– tells Notion we are working with database pages.databaseId: Set this to the ID of the Notion database where you want your invitees stored.propertiesUi.propertyValues: Map Calendly fields to Notion properties:Name|title: Uses the invitee’s name as the Notion page title.Email|email: Fills in the email property with the invitee’s email address.Status|select: Sets a default status value using a select option ID, for example “New”, “Pending”, or whatever your system uses.
- Requires
Notion API credentialsto authenticate and access your workspace.
Why Bother Automating Calendly to Notion?
Besides saving your sanity, this automation comes with some very practical benefits.
- Time-saving: No more manually creating Notion pages for every meeting. The workflow tracks appointments for you, every time a Calendly invitee is created.
- Centralized information: All invitee details live in one Notion database, ready for follow-ups, notes, and action items.
- Better organization: Use Notion’s filters, sorts, relations, and views to turn raw meeting data into an actual system instead of a pile of scattered notes.
Quick Setup Guide: From Zero to Automated in a Few Steps
Let’s walk through how to get this n8n Calendly to Notion workflow running. You only have to do this once, then automation does the boring part forever.
Step 1 – Create Calendly API Credentials
First, give n8n a way to talk to Calendly.
- In your Calendly account, generate an API key.
- Keep it handy, you will plug it into n8n as your
Calendly API credentials.
Step 2 – Set Up Notion API Access
Next, allow n8n to create pages in your Notion workspace.
- Create a Notion integration with permissions to access and modify the target database.
- Connect that integration to your database in Notion so it can read and write data.
Step 3 – Build Your Notion Database
Now prepare the place where all your invitees will live.
- Create a Notion database (table, board, or list view is fine).
- Add these properties:
- Name – type:
title - Email – type:
email - Status – type:
select(for example “New”, “Contacted”, “Completed”).
- Name – type:
- Copy the database ID, you will use it in the Notion node configuration.
Step 4 – Import the n8n Workflow Template
Instead of building everything from scratch, use the ready-made workflow template.
- In n8n, import the provided workflow JSON.
- This will create a workflow with the Calendly Trigger node and the Notion node already in place.
Step 5 – Add Your Credentials in n8n
Now connect all the dots.
- In n8n, configure your Calendly API credentials using the API key you created earlier.
- Set up your Notion API credentials with the integration token.
- Optionally, use environment variables for API keys if you prefer a cleaner and more secure setup.
Step 6 – Configure the Notion Node
Double check that the data from Calendly lands in the right place in Notion.
- Set
resourcetodatabasePage. - Paste your
databaseIdfrom Notion. - Map the properties:
Name|title→ invitee’s name.Email|email→ invitee’s email.Status|select→ default status (using the correct select option ID).
Step 7 – Activate and Test the Workflow
Time for the fun part.
- Turn the workflow on in n8n.
- Book a test meeting in Calendly using a different email address.
- Check your Notion database and confirm that a new page appears with the correct Name, Email, and Status.
If everything looks right, you have officially retired from manual invitee logging.
Ideas to Take This Automation Even Further
This Calendly to Notion workflow is a solid foundation, but you do not have to stop here.
- Add more Calendly fields: Map extra invitee details into additional Notion properties, such as event type, time, or custom questions.
- Trigger notifications: After creating the Notion page, add another node to send yourself an email or Slack message when a new invitee is added.
- Connect other tools: Use the same workflow to sync data with other apps in your stack, or chain it into larger automations.
Start Automating Your Scheduling Workflow
This n8n workflow template makes it easy to integrate Calendly with Notion so your scheduling and productivity systems stay in sync without extra effort. Once it is running, every new invitee becomes a neatly structured entry in Notion, ready for tracking, follow-up, and whatever workflows you build on top.
If you are ready to stop manually copying data and let automation do the boring work, try the template, customize it to your setup, and enjoy the extra free time.
Ready to build your automated Calendly to Notion workflow? Grab the n8n template below and make repetitive data entry a thing of the past.
